Add Registration
|
Editions
| |
|
Express
|
Supported
|
|
Small Business
|
Supported
|
|
Premier
|
Supported
|
|
Enterprise
|
Supported
|
All registrations are imported automatically from your Time Clock or Web Time Clock. In some instances, for example when employee forgot to register, you might need to add registration manually.
-
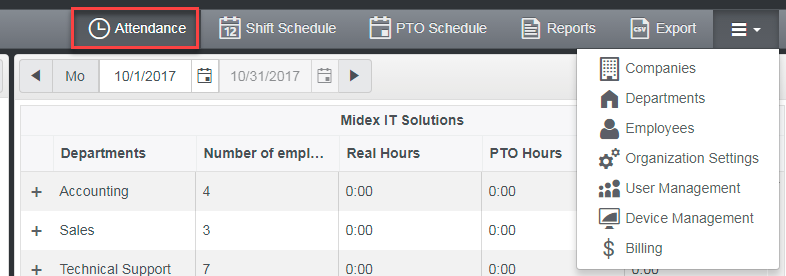
If Attendance module is not displayed, select Attendance from the Module Menu or from the extra drop down menu
 2. Click on the employee you want to edit time for
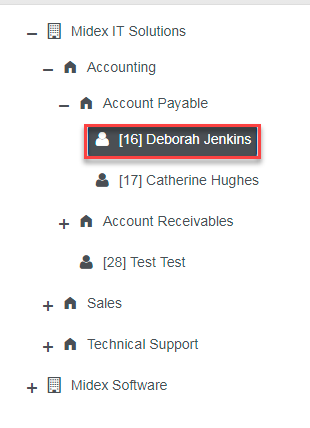 3. Make sure you have a date range selected where you want to add registration
 You might need to click on right or left arrows to change date range.4. Click on Add Registration button4.1. If you are using Express and Small Business edition, click on Add button
 4.2 If you are using Premier and Enterprise edition, click on Add button and then select Add Registration menu option
 4.3. In some cases, system can predict where registration is missing. This time field will be highlight in yellow and Add button will be displayed in place of the time. You can click on one of the add buttons in the grid. The date corresponding to this button will be pre-selected for you.
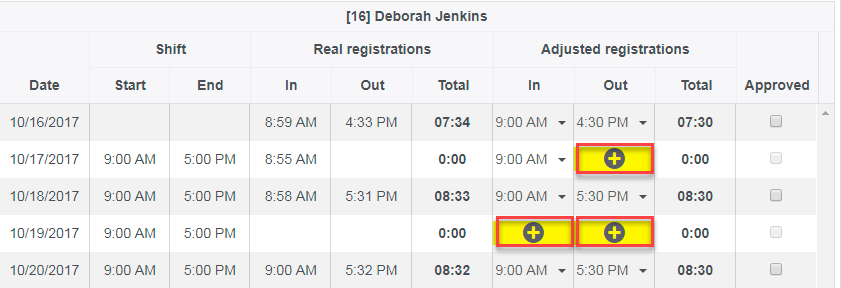 5. Select Date and Time when registration should be added. You can optionally input a reason for adding this registration into Comments field. If you have a Job Costing add-on, then you can optionally select Job and Task.
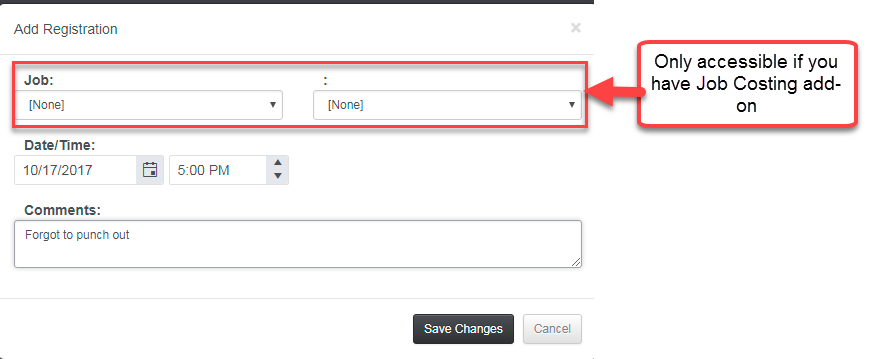 Comments field is not available in Express Edition6. Click on Save Changes button
After registration is added
-
All registration will be recalculated and adjusted taking into account this new registration
-
Registration will be displayed in red color indicating it was modified